I demoed this at MMS Jazz 2019 Tip and Tricks. This is Part 2 of a 3-part series. Part 1 covers how to create a PowerShell script to lookup error messages. Part 3 covers how to create a Power BI function to use an Azure Function.
I had heard of Azure Functions and I’ve written web API’s but I had never put the 2 together until I ran into this dilemma. I was trying to get the error text from ConfigMgr deployments into Power BI and ended up messing with Azure Functions to see if it was a viable alternative. This post is based on Part 1 which covers sourcing the files and creating a PowerShell script to look up error message. I’ll cover how to create an Azure Function App in this post.
Creating an Azure Function App
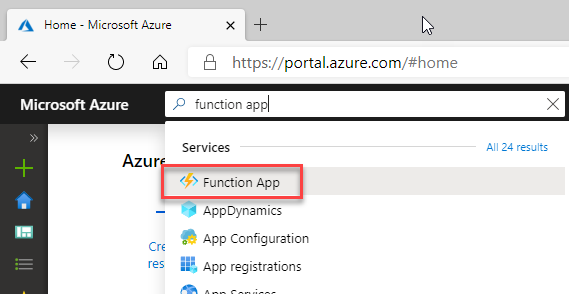
This next bit should be pretty easy since it’s mostly just stepping through Azure Function wizards. Once you have all of the files gathered, you simply need to create an Azure function. Log into your Azure Tenant. Search for Function App and browse to it.
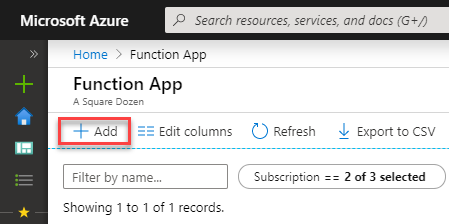
Click Add to create a new Function App
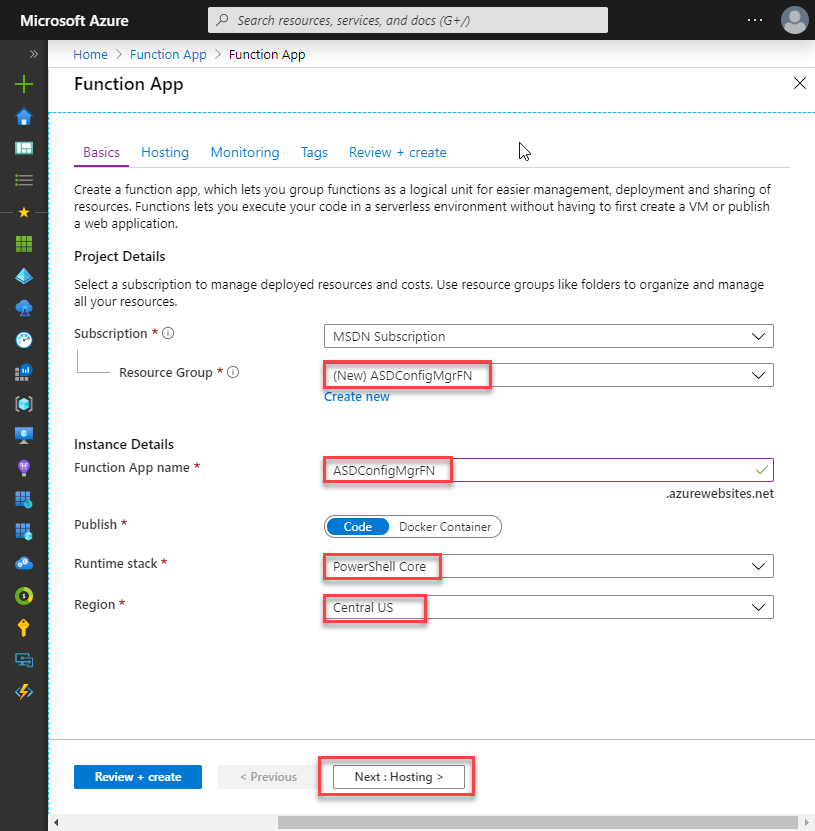
This wizard change significantly since I began working on this, so if you are viewing this in the future and it’s different than shown, just follow the wizard. The main considerations are:
- Resource Group - Create a new resource group or re-use an existing one
- Function App name - Since you can use this app to run many functions, this should be a relatively generic name that covers the purpose of your web API. Also, this will be a public facing name, so it will need to be unique and may be unavailable if you try using something too general.
- Runtime stack - Be sure to select PowerShell Core as your Runtime stack. I tried using the C# stuff but couldn’t get the DLL to load on .NET Core, though I’ll admit, I didn’t spend a ton of time on it.
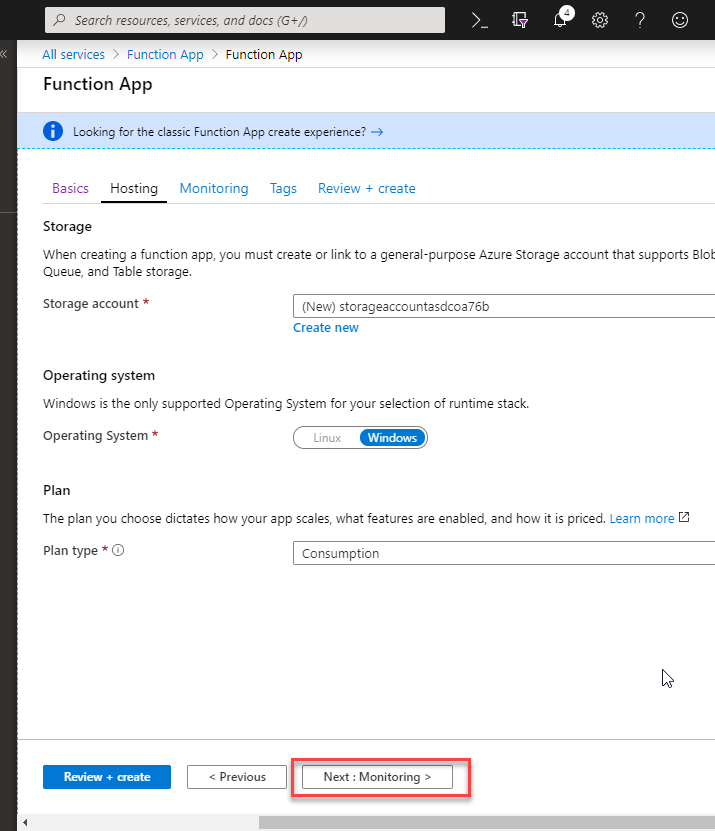
For Hosting I just accepted the defaults.
I chose to enable Application Insights. This will likely add cost to your functions (I don’t know for sure), but it will allow you to have visibility into your functions.
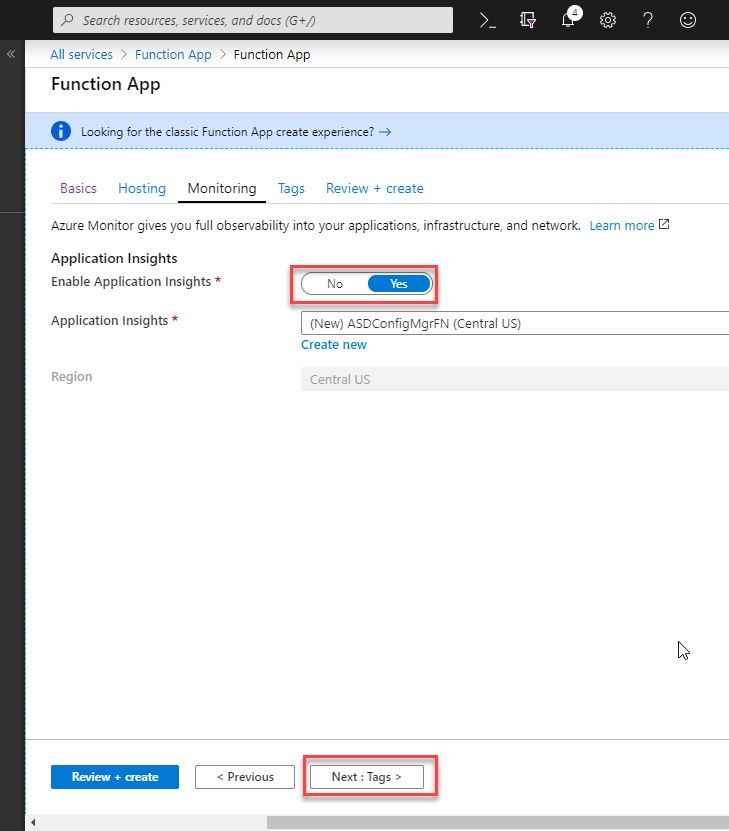
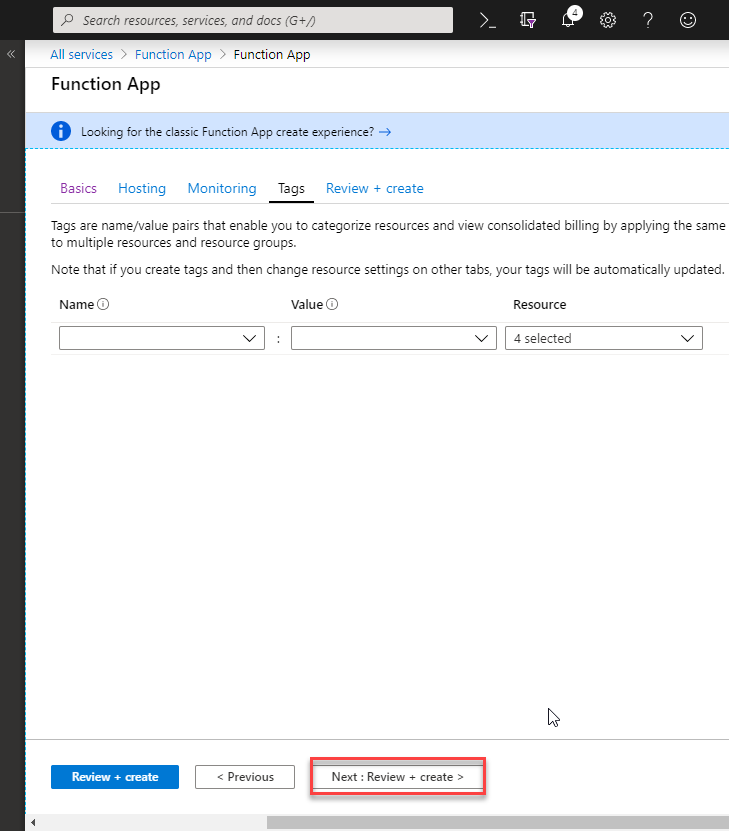
On Tags, I didn’t enter any.
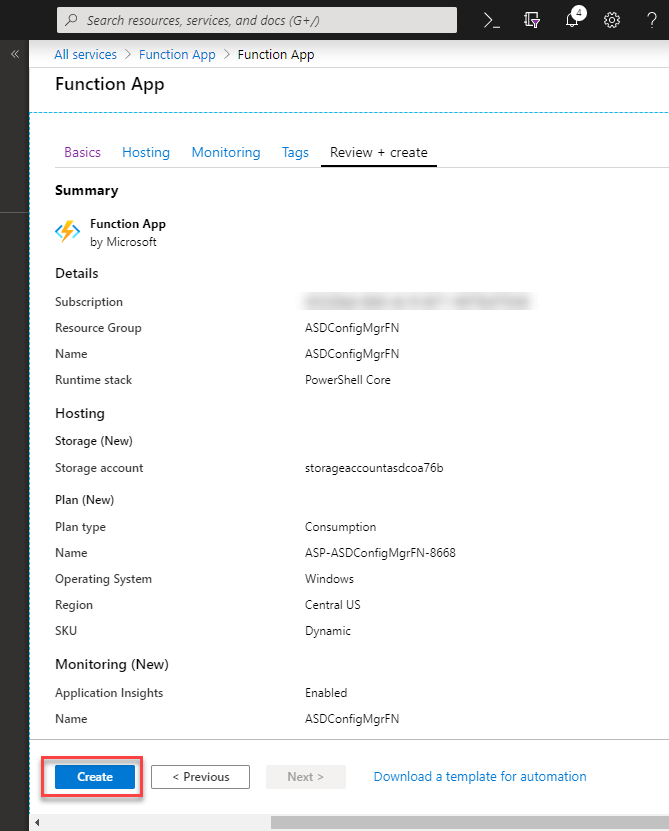
On the summary page, review everything then click Create.
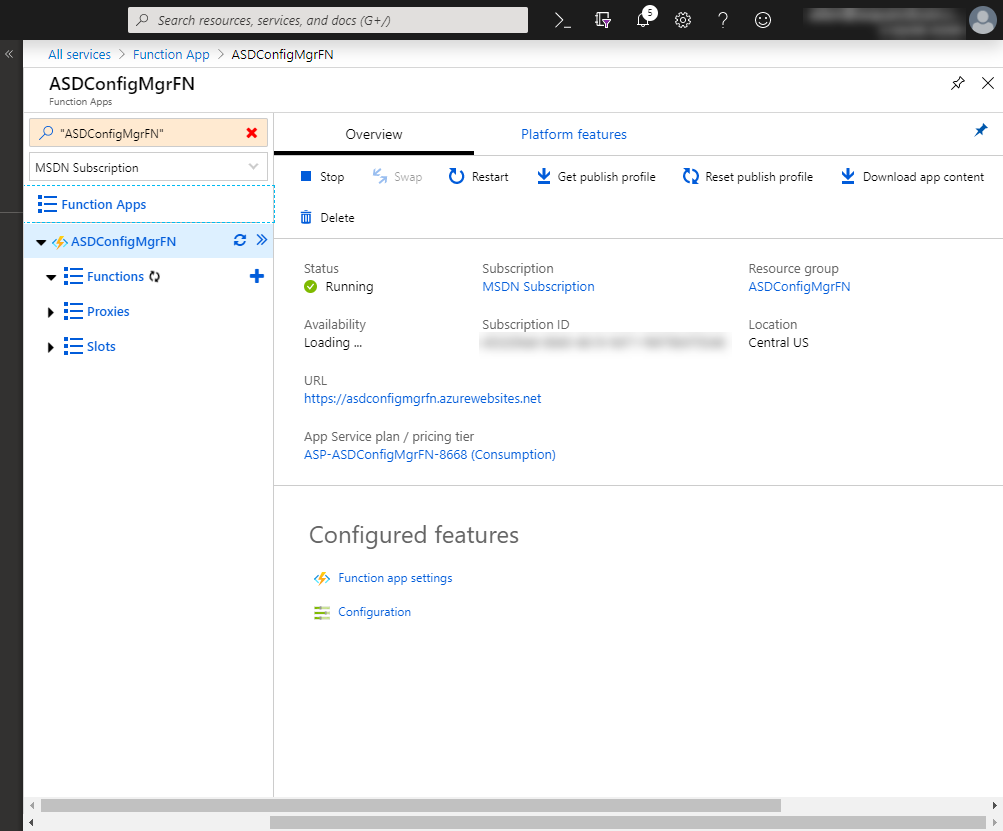
Once it has been created, you can navigate to your new Azure Function App where you can configure it and begin creating your functions.
Creating An Azure Function
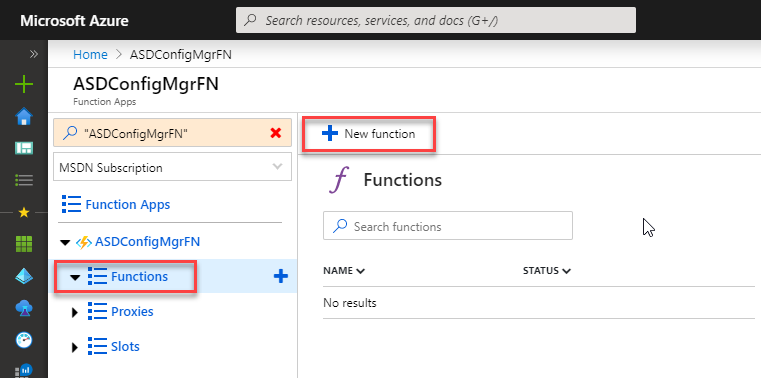
To create a new Azure Function. Click Functions then click New function. I found that clicking the + next to Functions doesn’t allow you to change the function name. It’s great if you want to create a sample function to test with though.
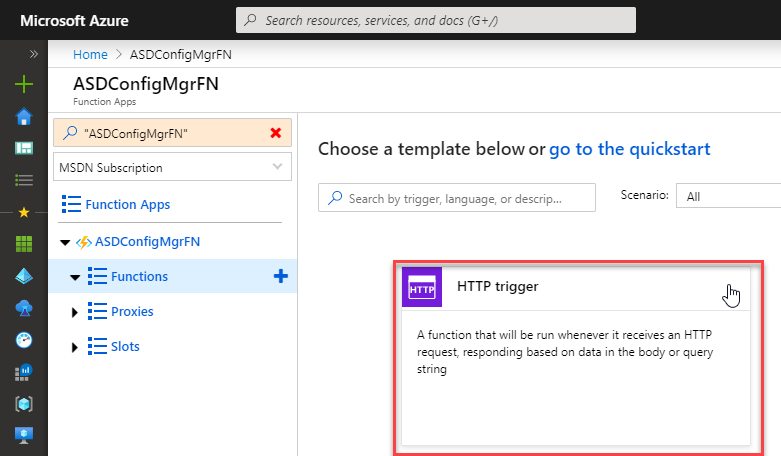
Select HTTP Trigger as the function type.
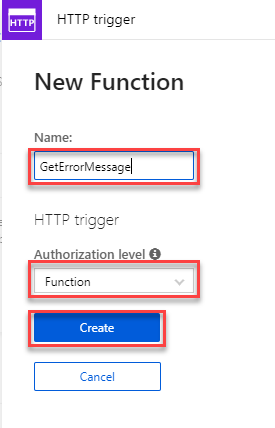
Give the new function a name and configure the Authorization Level. I chose Function. This will case the API to pass a Code query string parameter for authorization. During testing, I was just using Anonymous which excludes the Code string. Choose an option that fits your security needs.
Once the new function has been created, you will have a fully functioning ‘Hello World’ Azure Function. You can test it if you’d like by clicking Save and run. I used this template as the basis for my function.
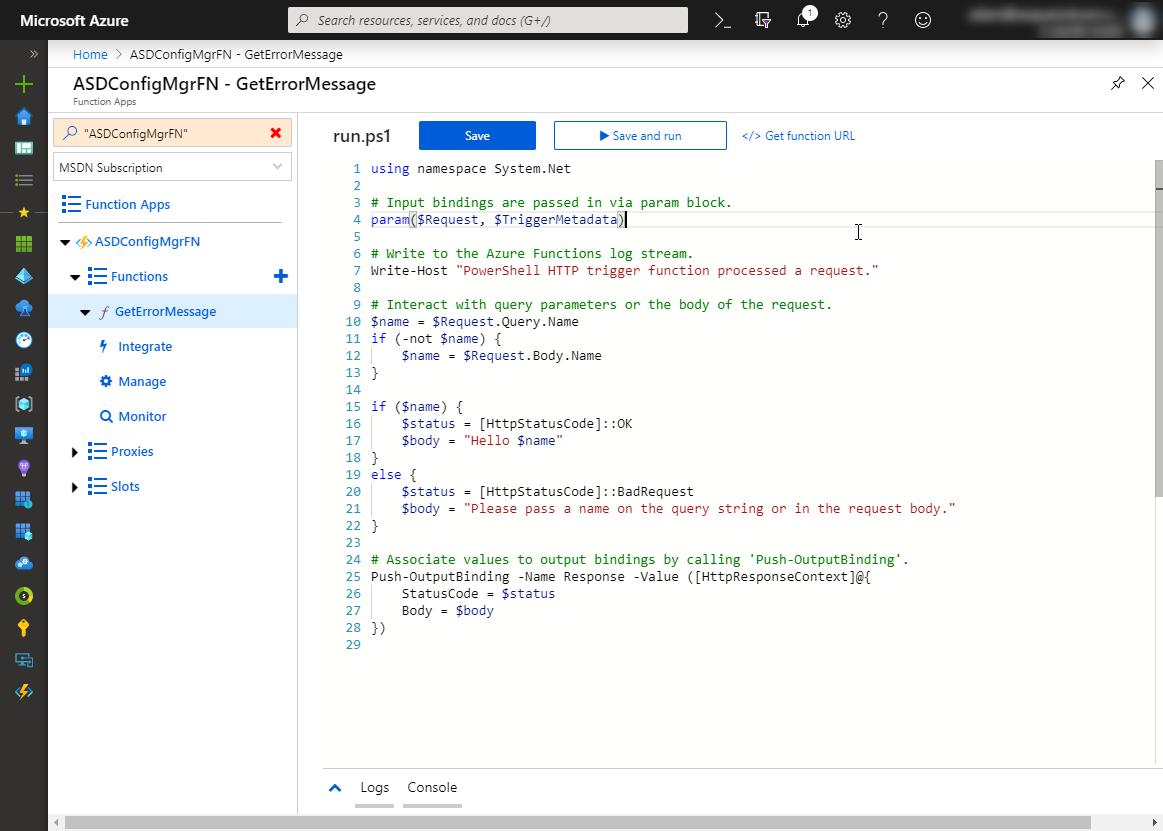
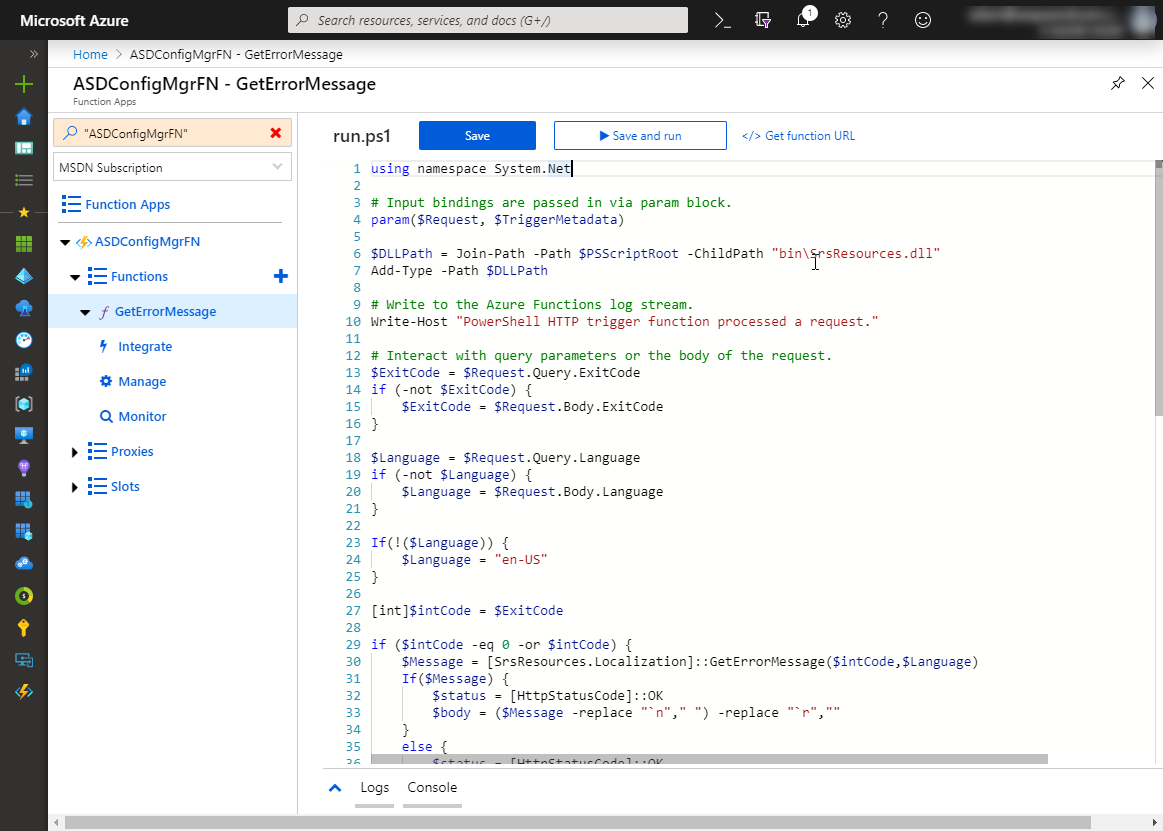
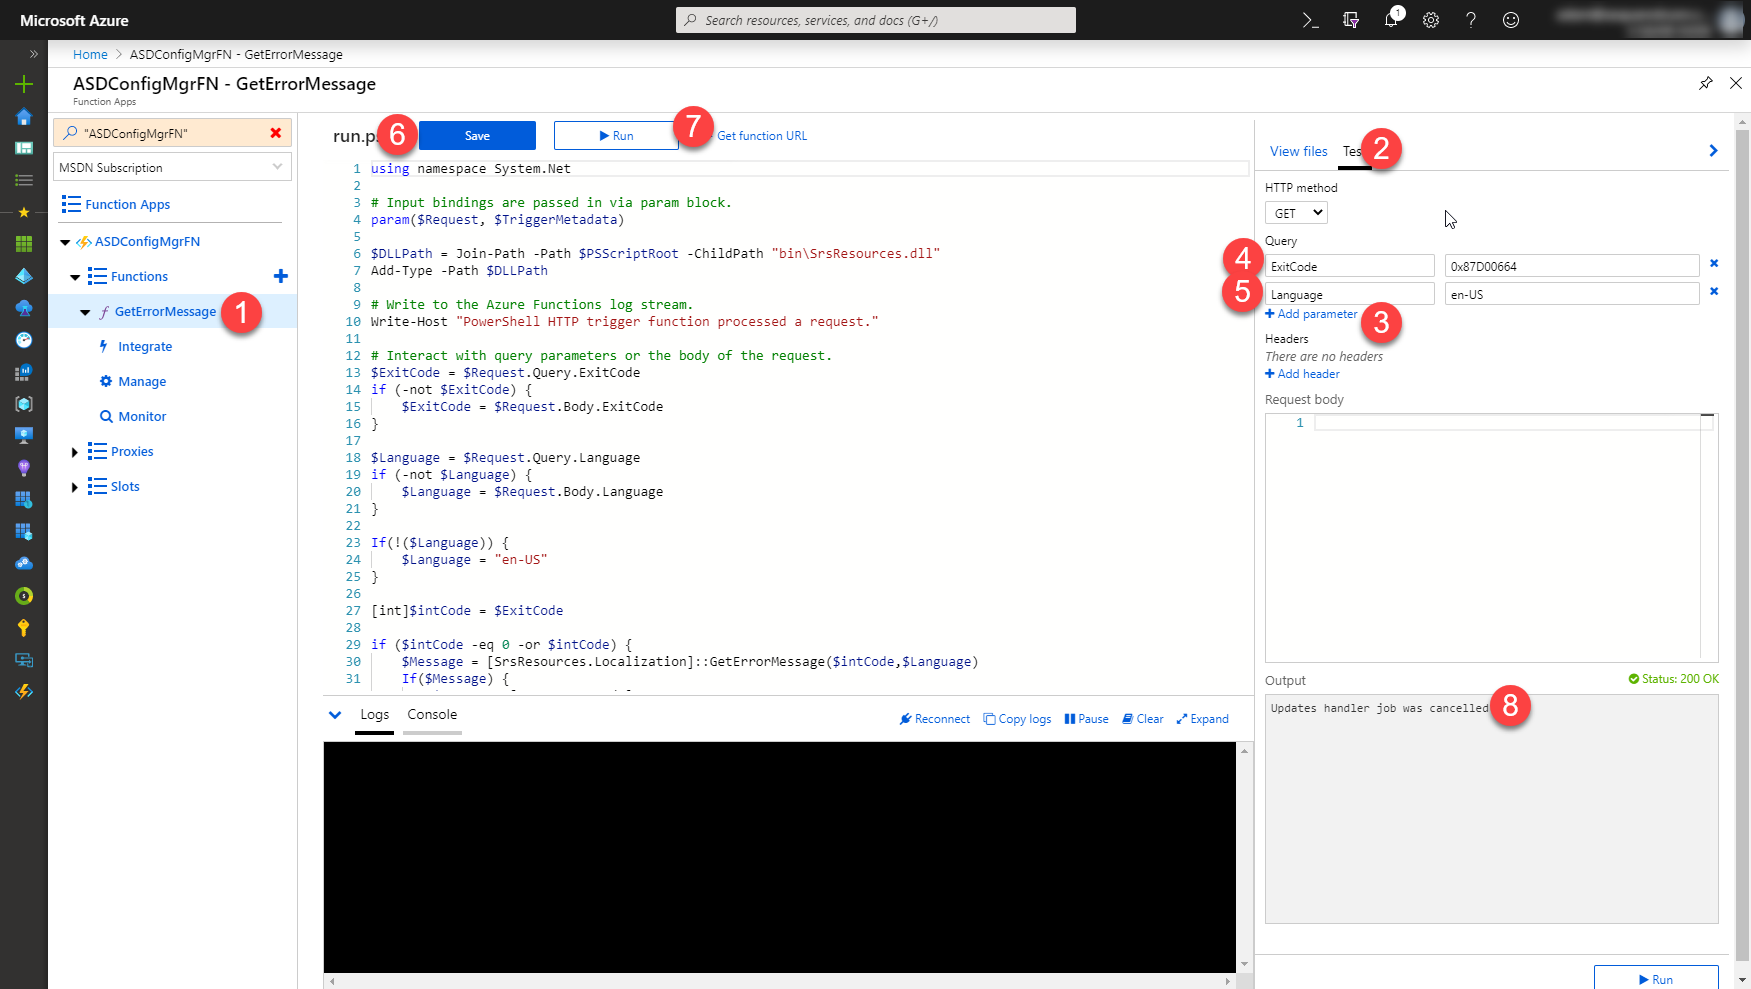
In the web console editor, replace the default function code with the following code. This code is similar to what I used in Part 1 of this series, but it has been modified to work as a web API function.
| |
It should look like this whenever you are done.
For this test case, the function requires extra files. If you don’t have the same need, you can skip the next section.
Adding Files to the Azure Function
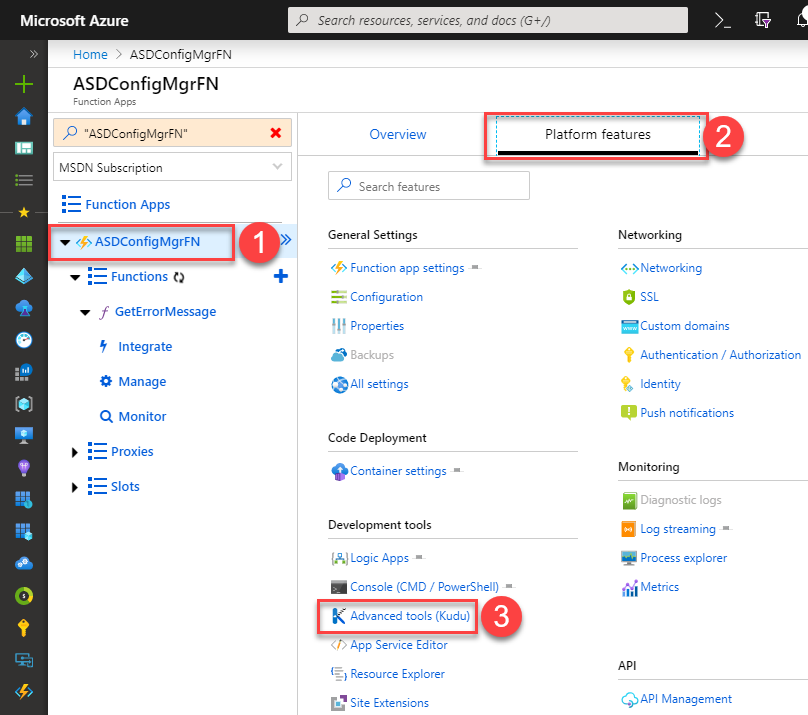
Once you’ve updated the run.ps1 file. navigate to the main Function App node. Click Platform features then Advanced Tools (Kudu).
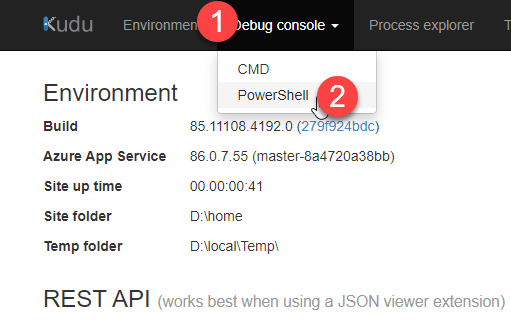
Select The Debug console drop down and select PowerShell
Navigate using the upper pane to get to the folder for your new Azure Function website. My path is D:\home\site\wwwroot\GetErrorMessage
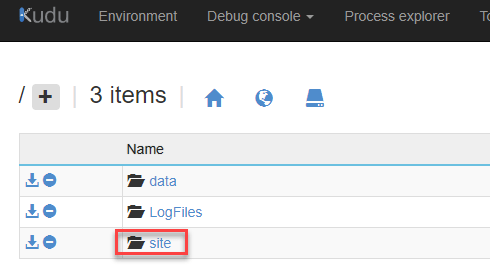
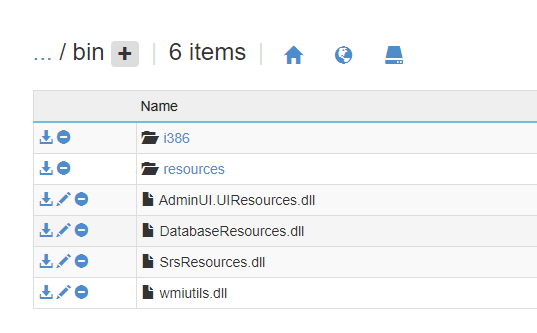
Drag the Bin folder and it’s contents into the root of your site’s folder. You can watch the progress indicator to see when the upload has been completed.
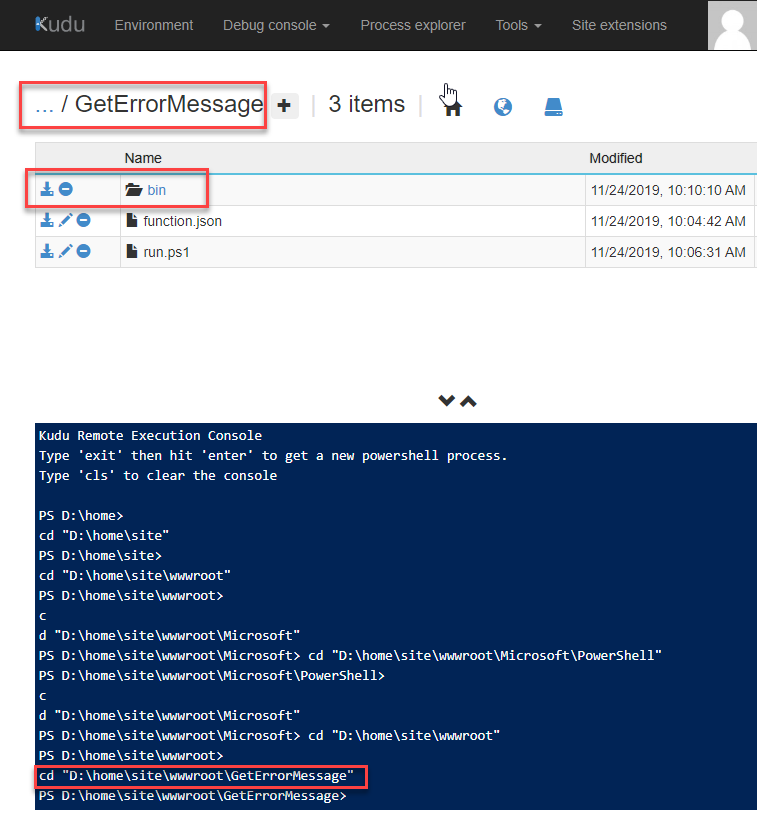
Verify that the folder and contents are present.
Testing the Azure Function
- Return to your Azure Function.
- In the right hand pane, click Test.
- Click Add parameter
- Create query parameter for
ExitCodeand add an error code - Create query parameter
Languageand add a language code. - Click Save
- Click Run
- The output box should show the result.
You can also click on Get function URL to run the function directly in a web browser or anything else.
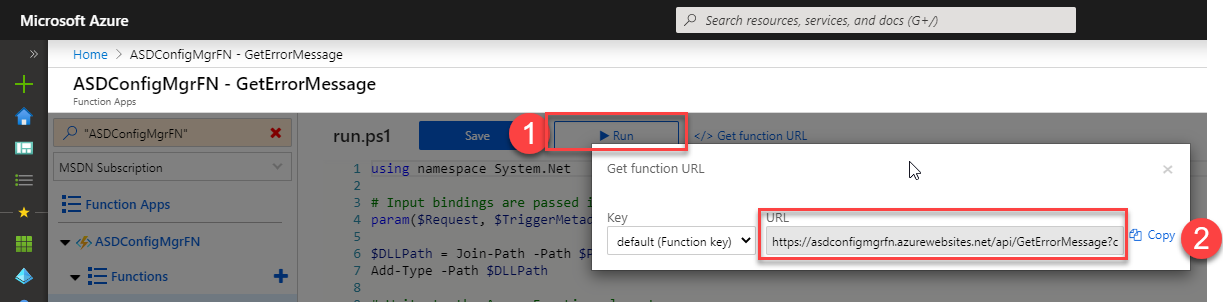
Your URL will be the base URL including your function authentication code (unless you chose anonymous when you set up the function.
https://asdconfigmgrfn.azurewebsites.net/api/GetErrorMessage?code=fasweAWDAWDFAWF/ADwdawdafASEFSE==
Then you will append your parameters to the URL like with &
&ExitCode=0x87D00664&Language=en-US
With the final URL being [https://asdconfigmgrfn.azurewebsites.net/api/GetErrorMessage?code=fasweAWDAWDFAWF/ADwdawdafASEFSE==&ExitCode=0x87D00664&Language=en-US](https://asdconfigmgrfn.azurewebsites.net/api/GetErrorMessage?code=jcctioioyOCFDr584iP0F/nUyGHCkPldlRJvM8xxajm9pGUoToLq4A==&ExitCode=0x87D00664&Language=en-US)

Summary
As you can see, you can basically take ‘any’ PowerShell code and stick it into an Azure Function with a little bit of modification. For my use-case I just wanted to get error codes for reporting, but you could easily move PowerShell utility scripts to Azure Functions and leverage them in ConfigMgr task sequences or just about anywhere else. I love the idea of being able to build an API in a matter of minutes with almost no real dev work involved. Hopefully this will inspire you to check out Azure Functions!